# JUnit4
https://github.com/junit-team/junit4
Eclipse Jee 2018-12中自动继承了JUnit4、5等
注意
测试用例不是用来证明程序是对的,而是用来证明程序没有错。
测试用例用来达到想要的预期结果,但对于逻辑错误无能为力。
src/
package com.test.util;

public class Calculate {
	public int add(int a, int b) {
		return a + b;
	}

	public int subtract(int a, int b) {
		return a - b;
	}

	public int multiply(int a, int b) {
		return a * b;
	}

	public int divide(int a, int b) {
		return a / b;
	}
}
2
3
4
5
6
7
8
9
10
11
12
13
14
15
16
17
18
19
test/
package com.test.util;

import static org.junit.Assert.*;
import org.junit.Test;

public class CalculateTest {

	@Test
	public void testAdd() {
		assertEquals(6, new Calculate().add(3, 3));
	}

	@Test
	public void testSubtract() {
		assertEquals(3, new Calculate().subtract(10, 7));
	}

	@Test
	public void testMultiply() {
		assertEquals(10, new Calculate().multiply(2, 5));
	}

	@Test
	public void testDivide() {
		assertEquals(10, new Calculate().divide(80, 8));
	}
}
2
3
4
5
6
7
8
9
10
11
12
13
14
15
16
17
18
19
20
21
22
23
24
25
26
27
总结
测试方法上必须使用@Test进行修饰
测试方法必须使用public void进行修饰,不能带任何的参数
新建一个源代码目录来存放我们的测试代码
测试类的包,应和被测试类保持一致
测试单元中的每个方法必须可以独立测试,测试方法间不能有任何的依赖
测试类使用Test作为类名的后缀(非必须)
测试方法使用test作为方法前缀(非必须)
# 测试失败的两种情况
package com.test.util;

import static org.junit.Assert.*;
import org.junit.Test;

public class ErrorAndFailureTest {

	@Test
	public void testAdd() {
		assertEquals(5, new Calculate().add(3, 3));
	}

	@Test
	public void testDivide() {
		assertEquals(10, new Calculate().divide(80, 0));
	}

}
2
3
4
5
6
7
8
9
10
11
12
13
14
15
16
17
18
总结
Failure一般由单元测试的断言方法判断失败所引起的,这经表示测试点发现了问题,即程序输出的结果和我们预期的不一样。
Error是由代码异常引起,可能是测试代码本身有错误,或是被测代码中有隐藏bug
测试用例不是用来证明程序是对的,而是用来证明程序没有错误。
# JUnit运行流程
package com.test.util;

import static org.junit.Assert.*;

import org.junit.After;
import org.junit.AfterClass;
import org.junit.Before;
import org.junit.BeforeClass;
import org.junit.Test;

public class JUnitFlowTest {

	@BeforeClass
	public static void setUpBeforeClass() throws Exception {
		System.out.println("setUpBeforeClass");
	}

	@AfterClass
	public static void tearDownAfterClass() throws Exception {
		System.out.println("tearDownAfterClass");
	}

	@Before
	public void setUp() throws Exception {
		System.out.println("setUp");
	}

	@After
	public void tearDown() throws Exception {
		System.out.println("tearDown");
	}

	@Test
	public void test1() {
		System.out.println("test1");
	}

	@Test
	public void test2() {
		System.out.println("test2");
	}
}
2
3
4
5
6
7
8
9
10
11
12
13
14
15
16
17
18
19
20
21
22
23
24
25
26
27
28
29
30
31
32
33
34
35
36
37
38
39
40
41
42
结果:
setUpBeforeClass
setUp
test1
tearDown
setUp
test2
tearDown
tearDownAfterClass
2
3
4
5
6
7
8
总结
@BeforeClass修饰的方法会在所有方法被调用前被执行,而且该方法时静态的,所以当测试类被加载后接着就会运行它。而且在内存中它只会存在一个实例,它比较适合加载配置文件。
@AfterClass所修饰的方法通常用来对资源的清理,如关闭数据库的连接。
@Before和@After会在每个测试方法的前后各执行一次。
# JUnit4常用注解
a notation
英 [ə nəʊˈteɪʃn]   美 [ə noʊˈteɪʃn] 记号
2
package com.test.util;

import static org.junit.Assert.*;
import org.junit.Ignore;
import org.junit.Test;

public class AnotationTest {

	@Test(expected=ArithmeticException.class)
	public void testDivide() {
		assertEquals(10, new Calculate().divide(10, 0));
	}

	@Ignore
	@Test(timeout=1000)
	public void testWhile() {
		int i = 1;
		while(true) {
			System.out.println("run forevet " + i);
		}
	}

	/**
	 * 我们预期的是3秒,程序读取时间是2秒,达到了预期
	 */
	@Test(timeout=3000)
	public void testReadFile() {
		try {
			Thread.sleep(2000);
		} catch (InterruptedException e) {
			// TODO Auto-generated catch block
			e.printStackTrace();
		}
	}
}
2
3
4
5
6
7
8
9
10
11
12
13
14
15
16
17
18
19
20
21
22
23
24
25
26
27
28
29
30
31
32
33
34
35
| 注释 | 说明 |
|---|---|
| @Test | 将一个普通方法修饰成为一个测试方法 |
| @Test(expected=XX.class)异常捕获 | |
| @Test(timeout=毫秒)超时处理,如处理死循环,或性能测试等 | |
| @BeforeClass | 它会在所有方法运行前被执行,static修饰 |
| @AfterClass | 它会在所有方法运行结束后被执行,static修饰 |
| @Before | 会在每一个测试方法运行前被执行一次 |
| @After | 会在每一个测试方法运行后被执行一次 |
| @Ignore | 所修饰的测试方法会被测试运行器忽略 |
| @Ignore(message) | |
| @RunWith | 可以更改测试运行器org.junit.runner.Runner |
# JUnit4测试套件
package com.test.util;

import org.junit.runner.RunWith;
import org.junit.runners.Suite;

@RunWith(Suite.class)
@Suite.SuiteClasses({TaskTest1.class, TaskTest2.class, TaskTest3.class})
public class SuiteTest {
}
2
3
4
5
6
7
8
9
TaskTest1, TaskTest2, TaskTest3
package com.test.util;

import org.junit.Test;
public class TaskTest3 {
	@Test
	public void test() {
		System.out.println("This is TaskTest3");
	}
}
2
3
4
5
6
7
8
9
结果:
This is TaskTest1
This is TaskTest2
This is TaskTest3
2
3
总结
测试套件就是组织测试类一起运行的
写一个作为测试套件的入口类,这个类里不包含其他的方法
更改测试运行器Suite.class
将要测试的类作为数组传入到Suite.SuiteClasses({})
# JUnit4参数化设置
目的:解决以上大同小异的测试代码问题
package com.test.util;

import static org.junit.Assert.*;

import java.util.Arrays;
import java.util.Collection;

import org.junit.Test;
import org.junit.runner.RunWith;
import org.junit.runners.Parameterized;
import org.junit.runners.Parameterized.Parameters;

@RunWith(Parameterized.class)
public class ParameterTest {
	int expected = 0;
	int input1 = 0;
	int input2 = 0;

	@Parameters
	public static Collection<Object[]> t() {
		return Arrays.asList(new Object[][] {
			{3, 1, 2},
			{4, 2, 2}
		});
	}

	public ParameterTest(int expected, int input1, int input2) {
		this.expected = expected;
		this.input1 = input1;
		this.input2 = input2;
	}

	@Test
	public void testAdd() {
		assertEquals(expected, new Calculate().add(input1, input2));
	}
}
2
3
4
5
6
7
8
9
10
11
12
13
14
15
16
17
18
19
20
21
22
23
24
25
26
27
28
29
30
31
32
33
34
35
36
37
总结
- 更改默认的测试运行器为@RunWith(Parameterized.class)
声明变量来存放预期值和结果值 :::
声明一个返回值为Collection的公共静态方法,并使用@Parameters进行修饰 :::
为测试类声明一个带有参数的公共构造函数,并在其中为之声明变量赋值 :::
# spring与hibernate的整合测试
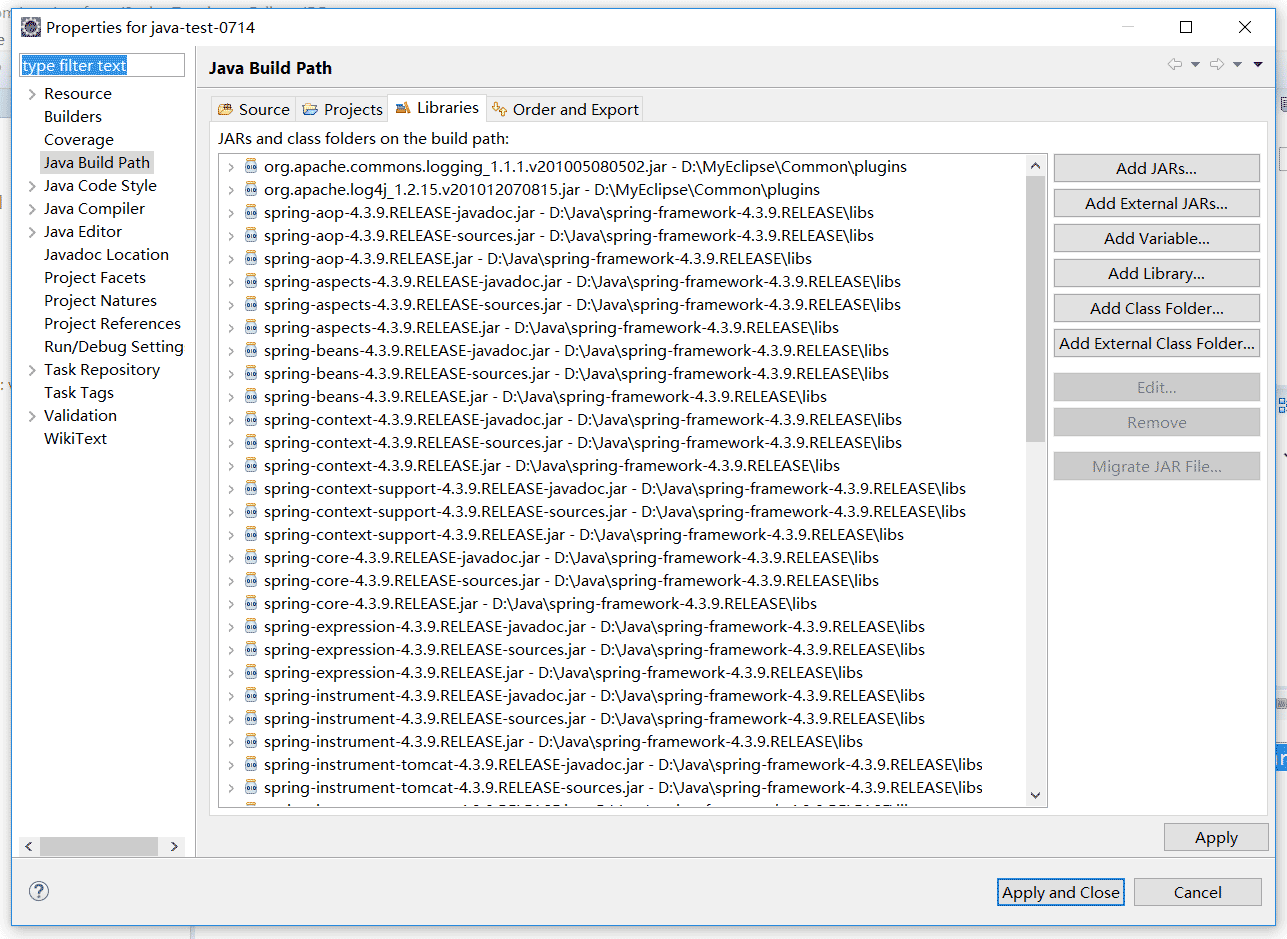
注意:需要导入commons.logging的包,否则单元测试会失败。
spring测试
src/application-context.xml
<?xml version="1.0" encoding="UTF-8"?>
<beans
	xmlns="http://www.springframework.org/schema/beans"
	xmlns:xsi="http://www.w3.org/2001/XMLSchema-instance"
	xmlns:p="http://www.springframework.org/schema/p"
	xsi:schemaLocation="http://www.springframework.org/schema/beans
    http://www.springframework.org/schema/beans/spring-beans-3.0.xsd">
	<bean id="date" class="java.util.Date"></bean>
</beans>
2
3
4
5
6
7
8
9
test/
package com.test.conform;

import static org.junit.Assert.*;

import java.util.Date;

import org.junit.BeforeClass;
import org.junit.Test;
import org.springframework.context.ApplicationContext;
import org.springframework.context.support.*;

public class SpringTest {

	private static ApplicationContext context = null;

	@BeforeClass
	public static void setUpBeforeClass() throws Exception {
		context = new ClassPathXmlApplicationContext("application-context.xml");
	}

	@Test
	public void test() {
		Date date = (Date)context.getBean("date");
		System.out.println(date);
	}

}
2
3
4
5
6
7
8
9
10
11
12
13
14
15
16
17
18
19
20
21
22
23
24
25
26
27
结果:
log4j:WARN No appenders could be found for logger (org.springframework.core.env.StandardEnvironment).
log4j:WARN Please initialize the log4j system properly.
Sun Jul 14 22:06:27 JST 2019
2
3
spring与hibernate的整合测试
未实现!
← Spring框架简介 IoC及bean容器 →